ChurchTrac does not have an API. That basically means that there’s no way for a tool outside of ChurchTrac to connect to it directly and pull your people data or any other data from the platform. This means that if you leave ChurchTrac and sign up for another church management software or you want to use another software alongside ChurchTrac, you need to manually export your data to CSV from ChurchTrac in order to import it to another tool.
The good news is that there is a fairly simple and straightforward way within ChurchTrac to export your data. In this article we’ll walk you through the steps (with screenshots!) that you need to perform in order to get a CSV export (which can be opened in excel) that contains all of your church’s member data.
Steps to Export ChurchTrac Data to CSV
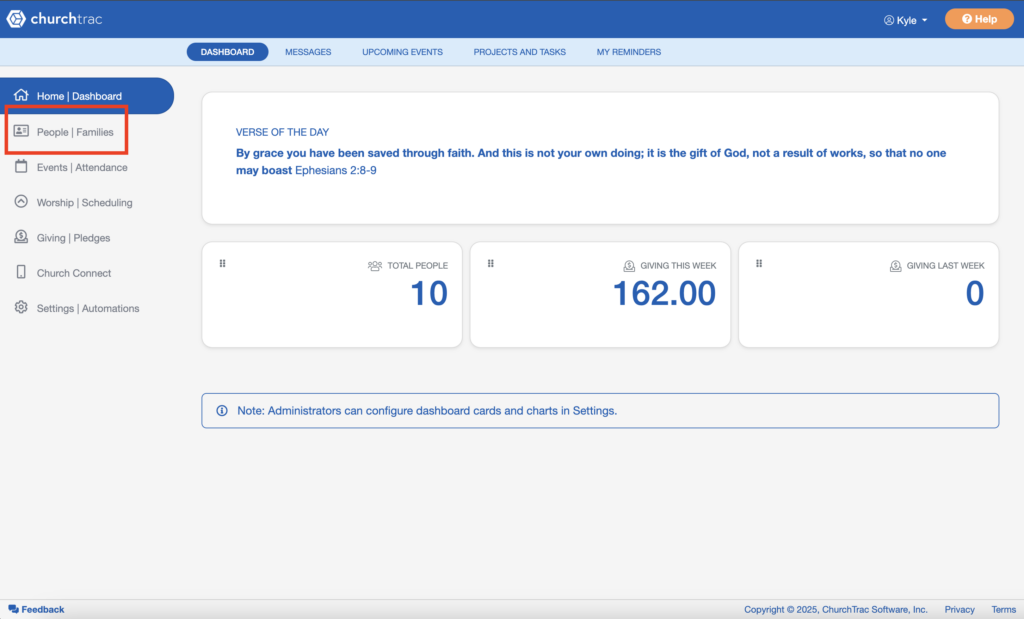
1. Go to the “People | Families” tab from your dashboard. This page will have the option to generate a report of the data currently within your ChurchTrac account.
–
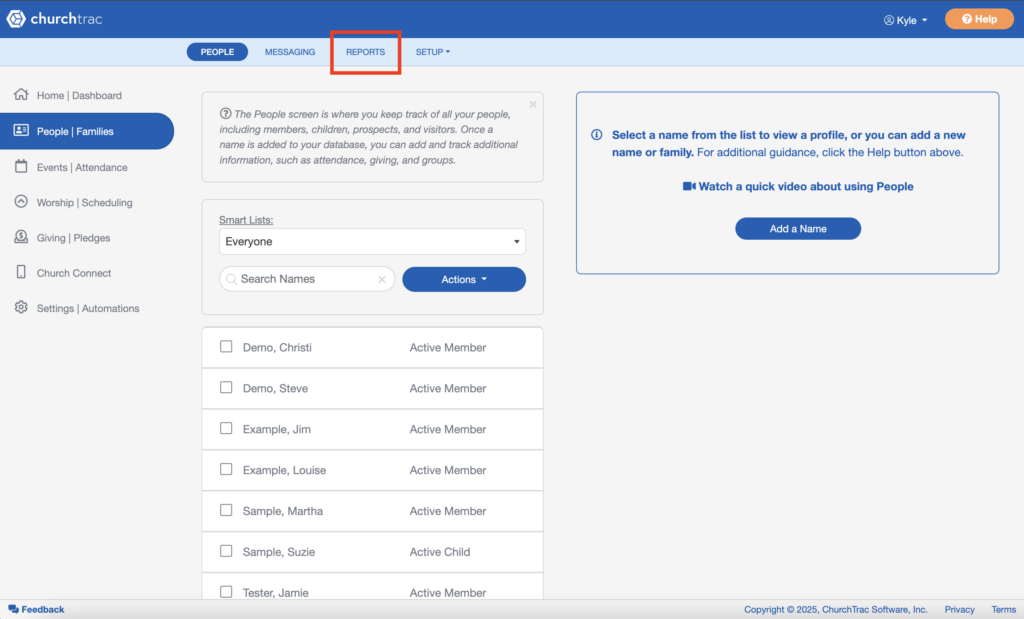
2. Select “Reports” in the top menu. This will take you to their report page which can generate a variety of helpful reports.
–
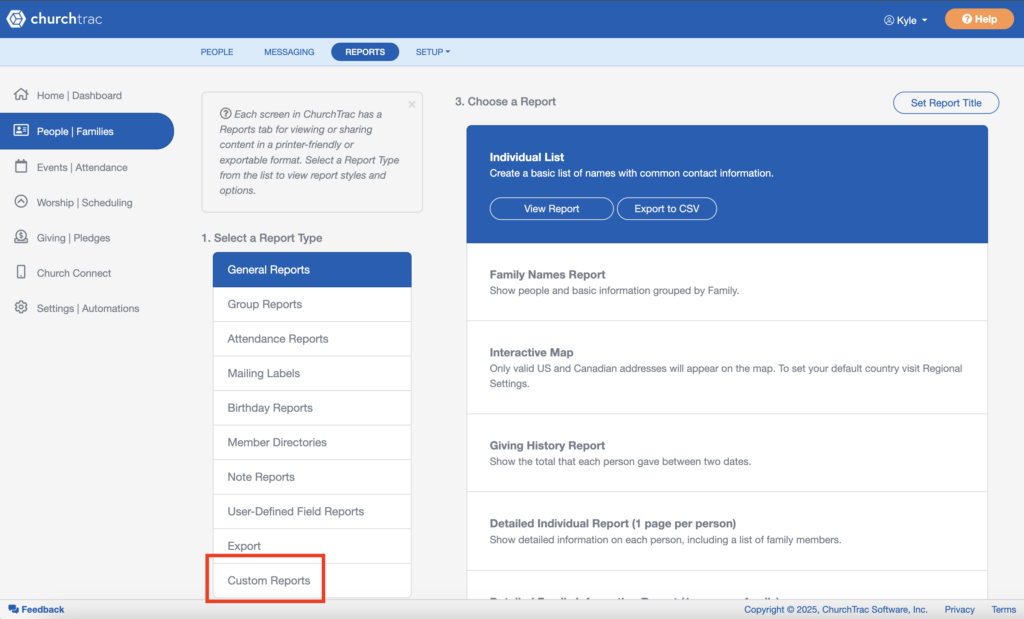
3. Click “Custom Reports” from the list of report options. This report will specifically be able to give us all the fields we need.
–
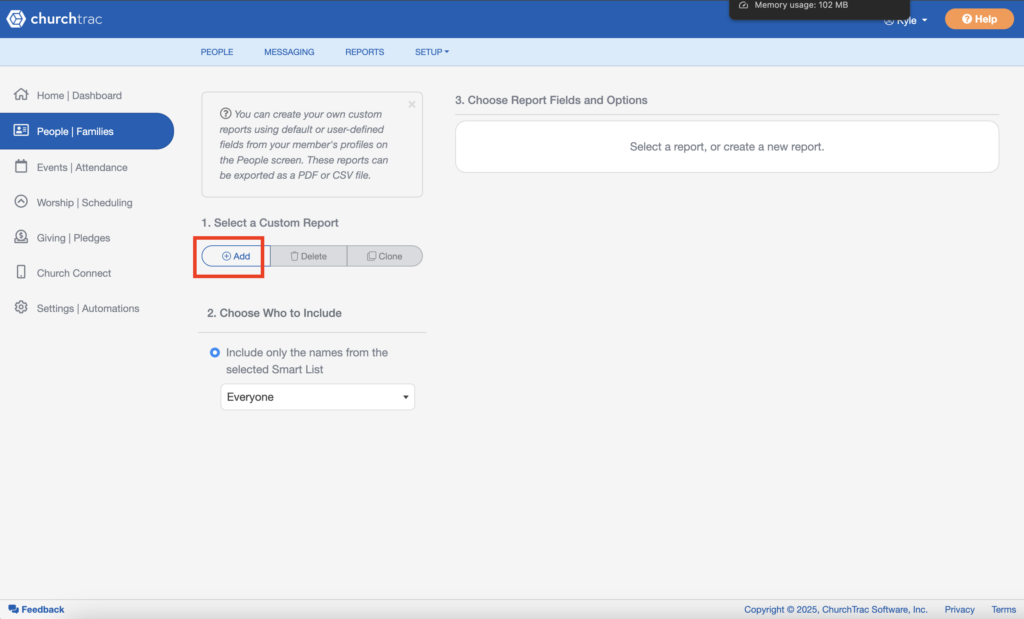
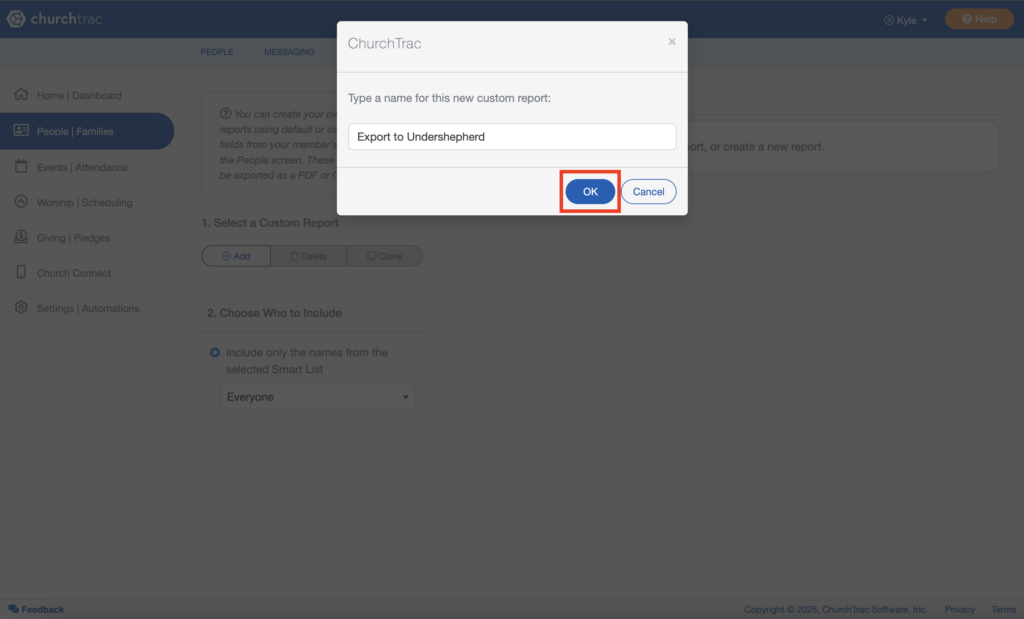
4. Click “+ Add” underneath the “Select a Custom Report” option and name it “Export to Undershepherd”. This will create a new report and we can start adding the fields we need:
–
5. Add the following fields by clicking “+ Add Field” and then selecting it from the “Field:” dropdown (seen in the screenshots below). NOTE: This must be done for each individual field so it can take a several minutes to set up. Once it’s set up, this style of report will be available in the future if you are using Undershepherd alongside ChurchTrac and desire to update your data again in the future.
Fields for the report:
- Member Number
- Individual Picture
- First Name
- Last Name
- Gender
- Marital Status
- Birthday
- Primary Phone
- Mobile Phone
- Work Phone
- Family Phone
- Full Address
- Secondary Full Address
- Email Address
- Family Email
- Member Status
- Family Role
Process to add each of those fields:
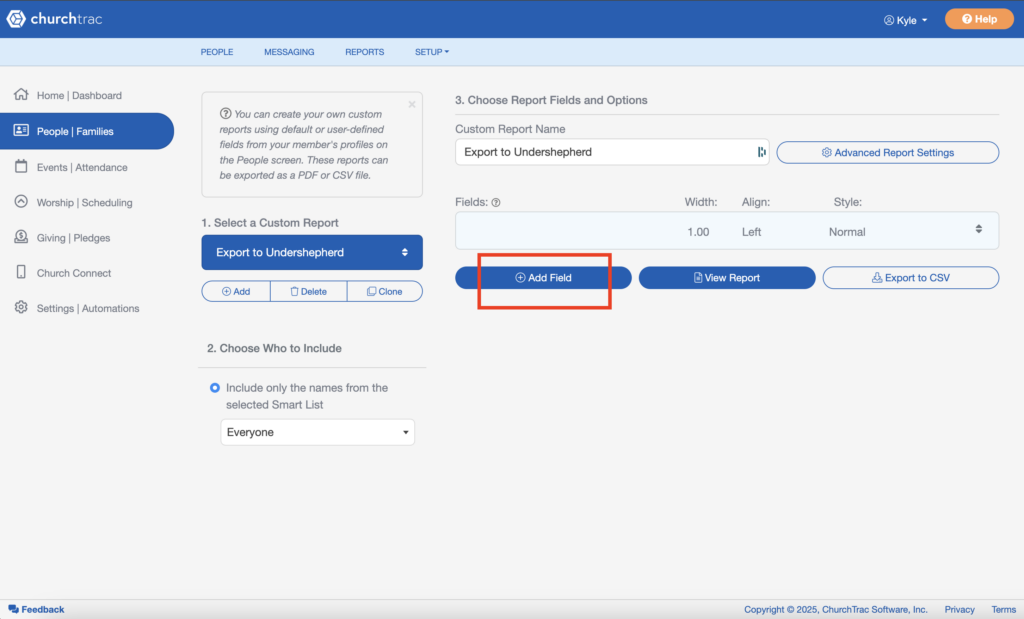
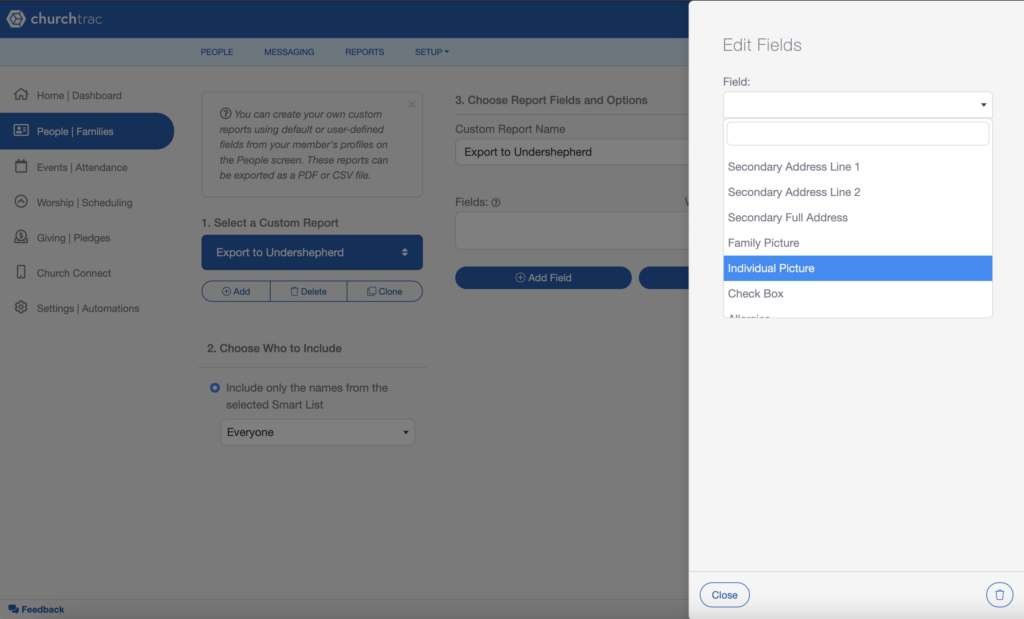
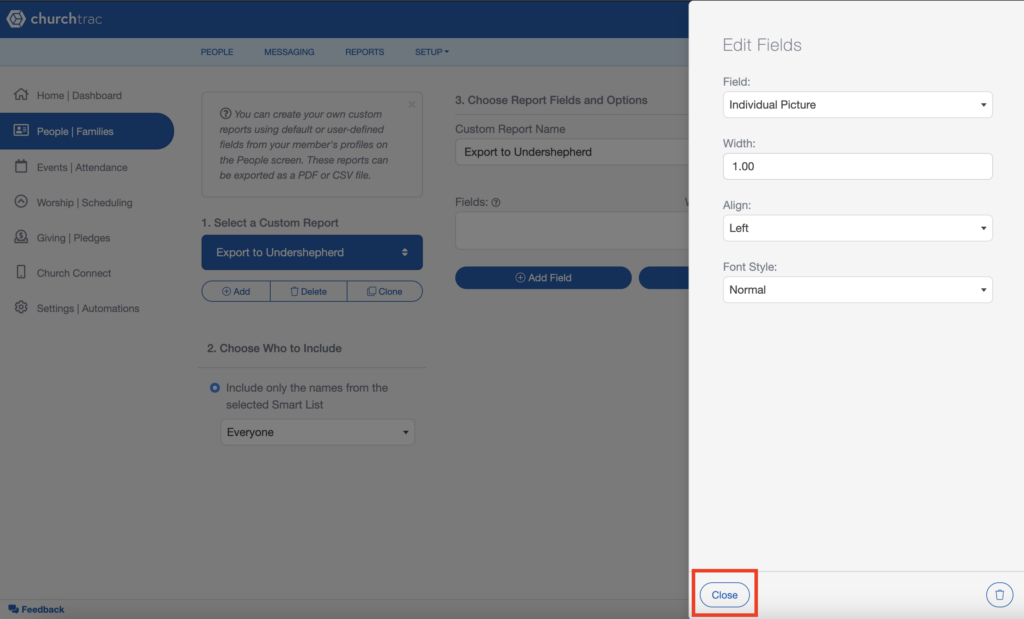
Again, make sure sure to repeat this step for each individual field you want to add. If you are exporting to Undershepherd the necessary fields are listed above.
–
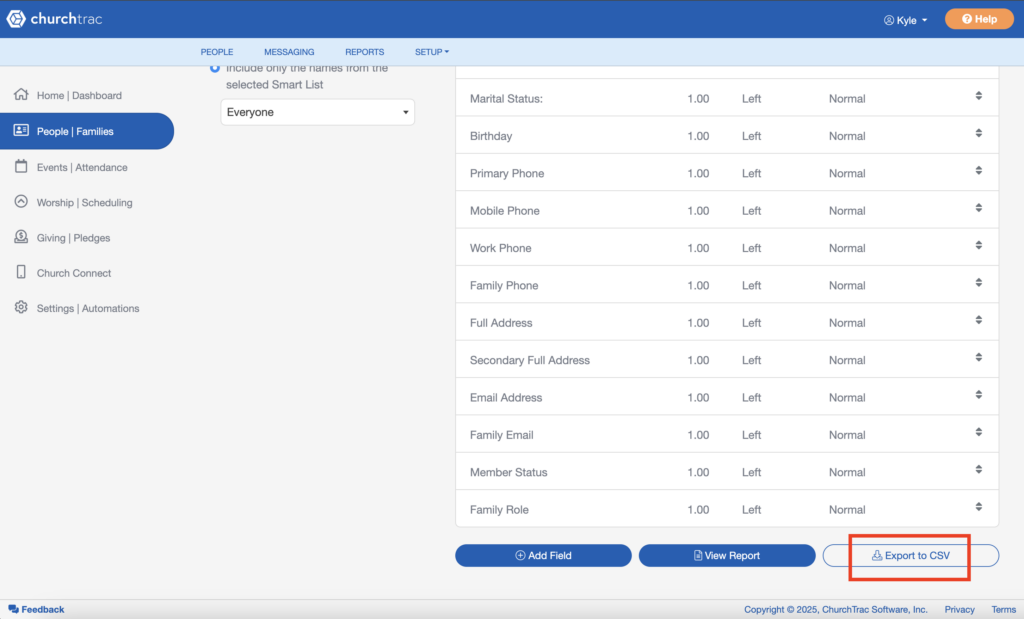
6. Once you have all the fields added to the custom report, you can scroll to the bottom of the list of fields and select “Export to CSV” which will generate a CSV file for you to use to import your data.
Congratulations! You now have a downloaded CSV with your people data and successfully completed a ChurchTrac data export!